A workshop special on our Rhop installation procedure
Rhop is a time consuming process that only offers up the rewards if the up most attention to detail is applied at all stages, here’s what we do;
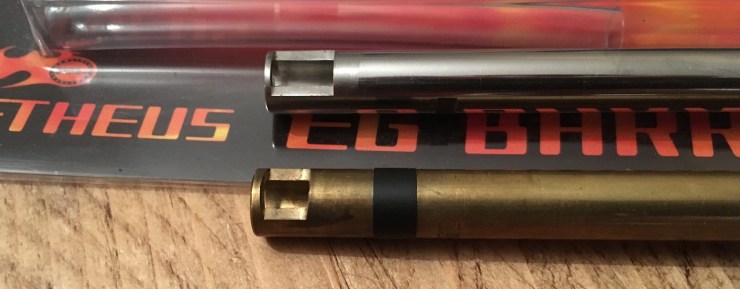
First up we machine a larger, exacting hop window, you can see the size difference between a conventional AEG hop window on the TM barrel and the machined window on the new Prometheus barrel.
Next up we cut out an Rhop patch from platinum grade clear silicone, which is held in a die block that has matching dimensions to the machined barrel window, a jig rod with the same diameter as the inside of the barrel is inserted into the silicone.
This ensures the silicone is sitting squarely, under no tension – IE fully relaxed – and does not deform when the patch is cut.

The patch is then given a thorough detergent wash to remove any contaminants that would otherwise effect the bonding of it to the barrel, likewise the barrel is thoroughly de-greased.
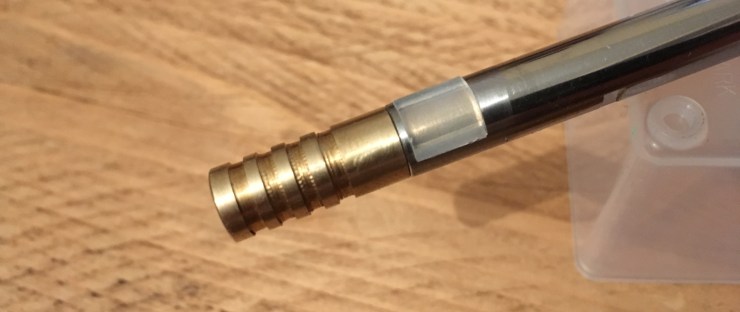
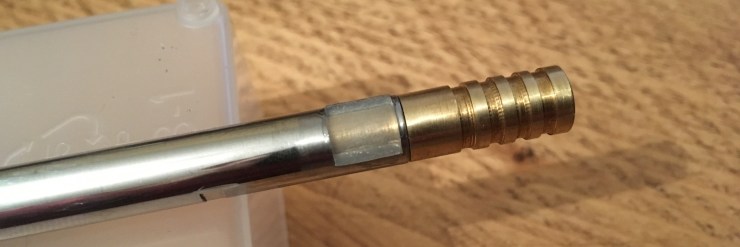
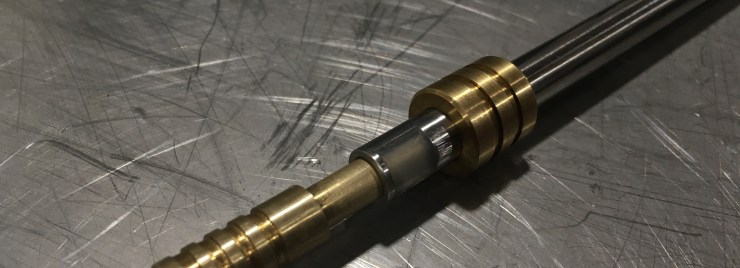
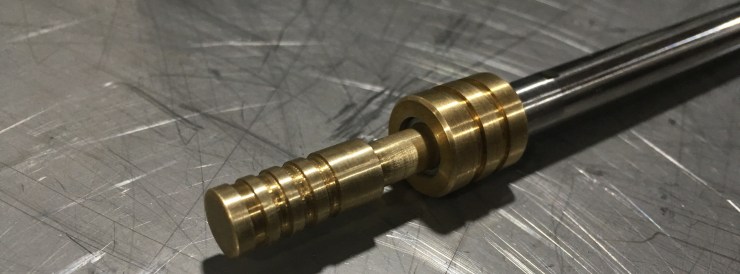
A brass dolly is then inserted into the barrel, the dolly is the exact diameter of the barrel.
The dolly ensures the Rhop patch sits perfectly in line with the barrel, whilst also making sure that it sits perfectly flush with the inside surface of the barrel for a seamless fit.
The new patch is then test fitted to check for perfect fit – not tight, which would compress the silicone and not loose which would compromise the bonding.
This is the first reason we use clear silicone – we can check to see if there is pressure against the barrel anywhere and that it is in full contact with the dolly.
If it fails this test then a new patch will be cut and tested again.
Now the patch is bonded to the barrel using a flowable silicone with an extremely strong bond to metals. As can be seen in some destruction testing!

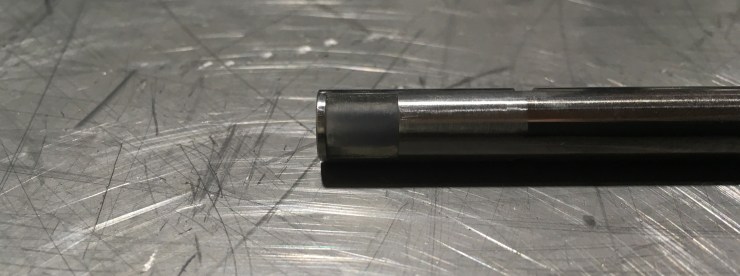
Again thanks to the silicone being clear we can check to see that we have a full air tight bond to the barrel, and that no silicone adhesive has gotten onto the dolly and contaminated the friction area.
You can see on the barrel below this has happened at the bottom of the window, this would then have to removed, fully cleaned and a bond remade.
Once a successful bond has been made with no contamination it is then left to cure for 8 hours.
Once fully cured the outside of the patch needs to be sanded down to perfectly match the outside diameter of the barrel, this is painstakingly done using 400 grit wet-or-dry paper to maintain an even surface.
This is checked using a ‘GO’ / ‘NO-GO’ die that is the exact diameter of the barrel.
Once the GNG die is close to fitting, the final sanding is carried out with 600 & 800 paper.
Now the dolly can be removed and the barrel can be inspected internally for the first time to check for flushness – with the GNG die still in place to simulate the barrel being installed with a bucking, in a hop unit.
A BB ‘drop test’ is performed to be doubly sure there is no internal restriction when no hop is applied.

Happy with the results the new patch can be thoroughly cleaned again to remove any sanding / silicone dust deposits.
There we have a successful Rhop installation, ready to dish out long range hits!
The best thing about this whole process is that at no point does the perfect inner surface of the Rhop patch get touched, no sanding is required as all excess material is taken away from the less crucial external surface.
Dave@SixG
